
**This continues on from the previous post that can be found here**
Now that we have our base system installed, its time to add some tools that will give us a nice GUI desktop. But first off we will setup sudo so we can stop being root. First we’ll create a user. This first command creates a home directory called “dwheeler” using the -m flag, adds this user to the administrator group (wheel) with the -G flag and links us to bash. Enter a password after the passwd command. Obviously substitute for your username and password.
useradd -m -G wheel -s /bin/bash dwheeler
passwd dwheeler
Next we setup sudo. Sudo has a special editor to change it called “visudo”, we should always use this modify the config file. After typing the visudo command scroll down to the line that contains “root ALL=(ALL) ALL”, and underneath that add your username and the “ALL=(ALL) ALL” part. Note that visudo uses VI, which can be a little tricky to use for the uninitiated. Once you are at the line you want to insert your username, type “i” to insert, once you have finished type [esc] and then colon “:” and [wq] to save and exit (ie “:wq”).
root  ALL=(ALL) ALL
dwheeler  ALL=(ALL) ALL
Type “reboot” and now login as yourself. Now to install some graphics tools.
sudo pacman -S xorg-server xorg-xinit xorg-server-utils mesa
sudo pacman -S xorg-twm xorg-xclock xterm
Because we are using virtualbox, we need to install some helper tools that will allow the graphics to work properly. I got some good ideas from this post (http://wideaperture.net/blog/?p=3851), it might be worth checking it out for a second way of doing this.
sudo pacman -S virtualbox-guest-utils
sudo nano /etc/modules-load.d/virtualbox.conf
After nano opens, add these to these lines to the virtualbox.conf file:
vboxguest
vboxsf
vboxvideo
Then get this too load.
sudo systemctl enable vboxservice.service
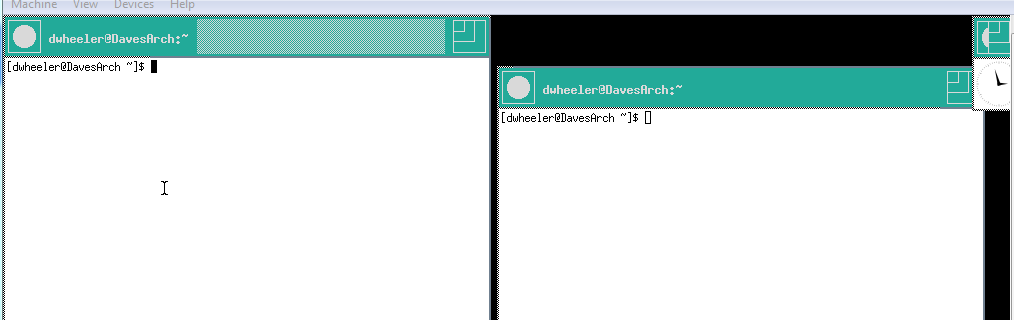
Reboot using “sudo reboot”, once you are back into the environment type “startx”, and some very basic windows should open confirming that x is working! Type exit in these windows to return to the terminal.
Finally, we will install the desktop environment. This consists of two parts, first the display manager that will log us in and kick off the desktop, and then the desktop environment itself. You can choose from a bunch of different environments, from fancy feature rich to bare-bones, see the arch desktop page for the options. I’m all for saving resources so I’m installing the lightweight LXDE. Installing the lxde group using pacman also installs the display manager (called lxdm).
pacman -S lxde
Accept the defaults. Now we need to get the display manager to load automatically at boot, and set the default desktop (note you can install multiple desktops environments lxdm will give you options to boot into them instead of the default if you should wish)
sudo systemctl enable lxdm
nano /etc/lxdm/lxdm.conf
In nano uncomment the desktop environment you want to be the default, in my case it was this line ”
session=/usr/bin/startlxde”
Reboot, login, and bobs your uncle!
Note: If full screen doesn’t work, try typing “sudo depmod -a” in a terminal and then reboot again

Last job is just to change the permissions on the shared folder so that we can access the host (replace username with your username).
sudo usermod -a -G vboxsf username

Pingback: Install Arch Linux on virtualbox – the nuts and bolts (pt1) | Welcome to the Dave Wheeler lab page and blog
I’m up to the step where you install the xorg tools, specifically this:
sudo pacman -S xorg-server xorg-xinit xorg-server-utils mesa
and after I’ve entered in this command it asks me for ‘[sudo] password for I enter my password and it just comes up with error: invalid option
is there anything I’m doing wrong? What should I do now.
Image for reference: https://i.imgur.com/772ivgL.png
You need to capitalise the -s ie “-s” != “-S” (-:
Oh, I feel dumb now, it worked, thanks!
startx didn’t work for me. I found I had to add “sudo pacman -S libxcomposite” to get it working.
Thanks for the guide, I’ve now got my first Arch system running.
Hi Paul, thanks for posting you fix!
Tried dozens of ways to get Arch going with desktop on Virtual Box. Yours worked. Maith thú. Bulaí fir.
Note that for some reason, what worked for me was editing /etc/lxdm/lxdm.conf in nano first and only after doing sudo systemctl enable lxdm, because if you do it first, the line is still commented and the system doesn’t have a clue what lxdm is.
For me I had to first edit /etc/lxdm/lxdm.conf and only then run sudo systemctl enable lxdm, as prior to that the system has no clue what lxdm is
Fantastic post!!
Its been my go to reference for installing Arch.
Thanks three times!
“Ganz grosses Kino” as we say in Germany. Explained by a scientist in a way
an IT-fuzzy never will/can do it.
Thanks Walter! This must be getting close to being out of date, glad its still working well enough