
The App Inventor 2 (AI2) is a really cool bit of software from Google and [now] MIT. It contains two GUI tools to make creating Android apps a “relatively” easy task. The first tool is a designer that helps create your screen layouts, pretty much like the layout designers that come with the Android SDK. The really cool and unique part is the “blocks” designer, which helps you create code by moving object blocks around (rather than typing java). These GUI’s dramatically speed up development, whilst also providing an excellent framework to teach people how to code in a fun and accessible way (ie no language syntax).
The following quick run through of a very simple conference app that I’m using for a demo at our teaching symposium. The goal is to do this demo in 10 min, so really this is bare-bones stuff! If you want more I highly recommend the book App Inventor, edition 2, which covers AI2 in much more detail through a series of fun (and useful) projects.
Its worth pointing out now that AI2 has some additional cool features. Firstly, its all on the cloud so you don’t need any software except chrome or firefox (ha ha IE is NOT supported). Secondly, if you are on WIFI, by installing a simple application on your phone you can test the app instantly by scanning a QT code from the computer screen. If you have ever created an app with eclipse and used the emulator for testing you will be delighted by how much simpler and quicker this process is, its super cool – really!
The conference app is just a listview of names and session times that are clickable. If a item is selected a photo and brief bio pops up for that session. No fancy formatting at this stage, anyway.
1. Go to the AI2 page and login with your google account
The first screen will recommend you install some additional applications to allow easy testing on your phone. By far the simplest is to choose option one, as long as you are sharing a wifi network with your computer and phone. For the rest of this guide I’ll assume this is how you will test your app.

2. On the menu goto “Projects” – “Start new project” and call it something informative
After a few seconds the designer window will appear. The designer page allows you to layout all of the elements your require for your app. The left hand “palette” contains elements for layout as well as user interaction widgets. These elements can be dragged onto the middle view pain or alternatively if they are a invisible element (a database for example) to the bottom of the viewer screen. The “components” pane allows you to customise each element and finally the properties pane lets you modify size, layout, and text aspects.

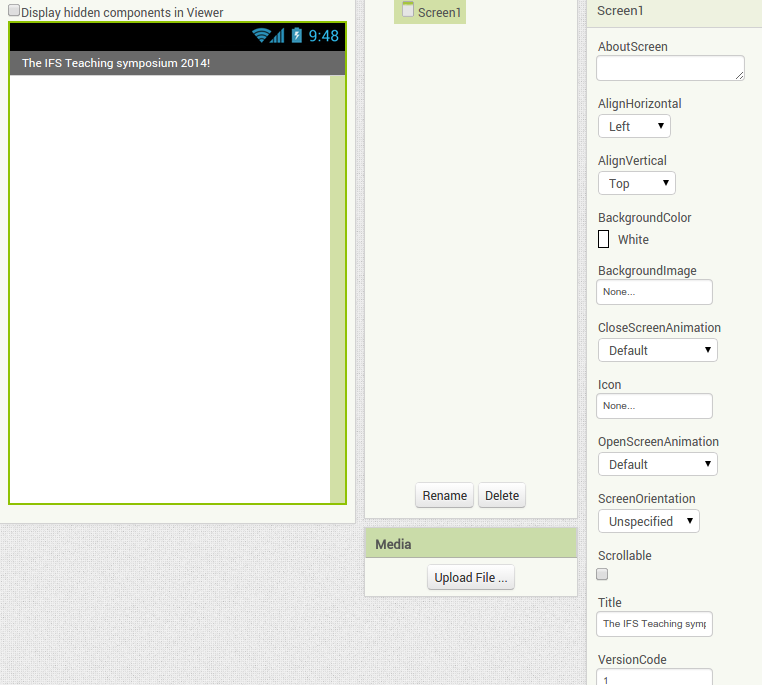
3. Re-title
Just to to see how simple things can get, lets give a more informative title. All we need to do is change the “title text” in the property pane.
 4. Add the list-view
Ok the meat and potatoes of the app, the listview will be populated with speaker names and times that are clickable. Just drag the listview icon from the palette window to the viewer.
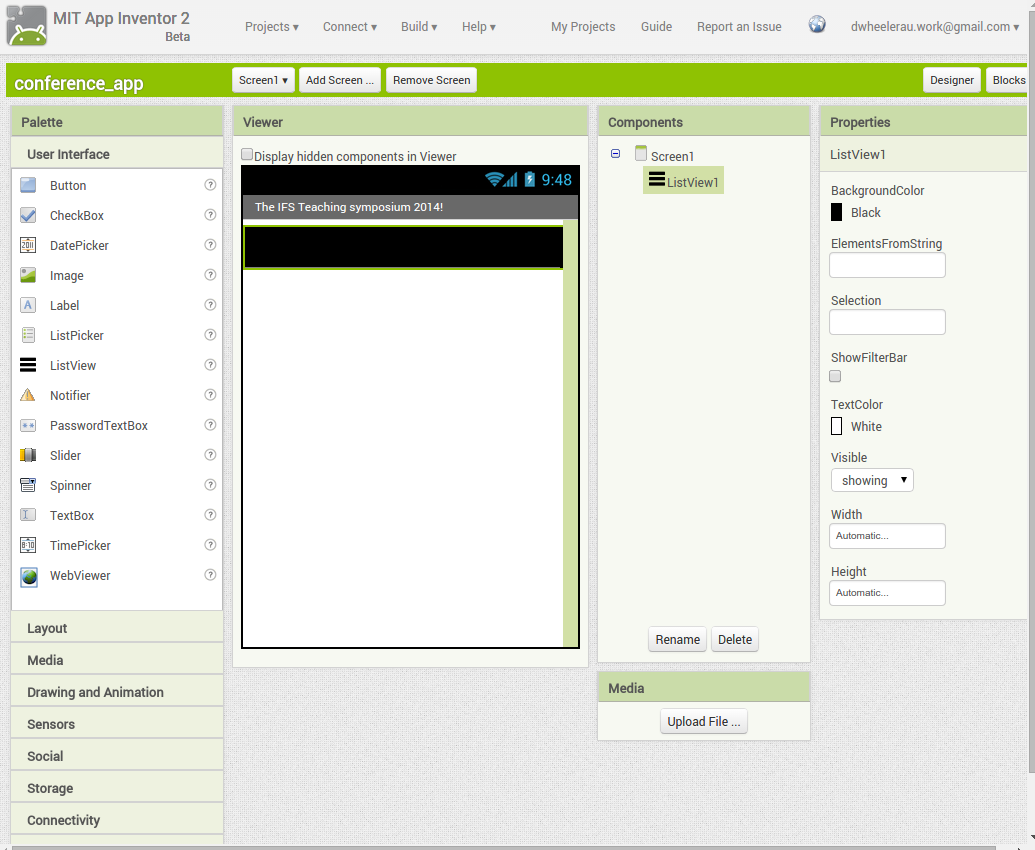
5. Adjust the placement and re-sizing to suit your tastes
We can now adjust the listview properties, such as the width and height so that this element fills the available screen space.
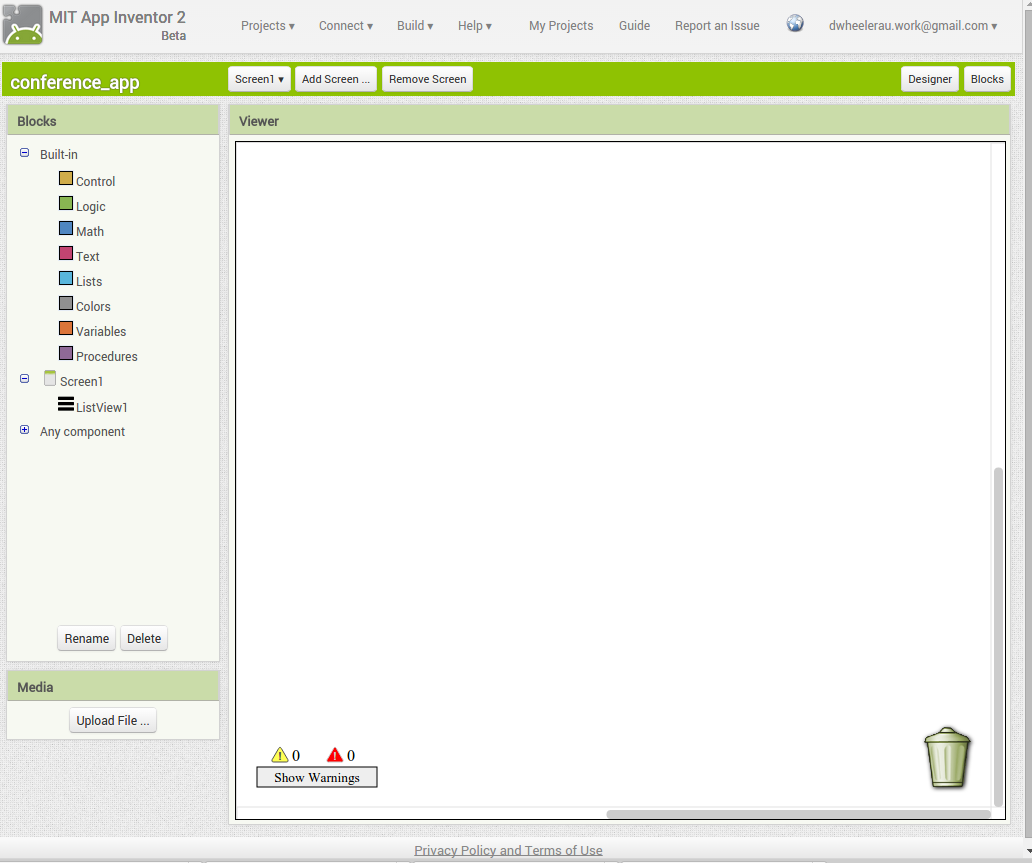
 6. Go to the blocks page and start creating the logic for your app
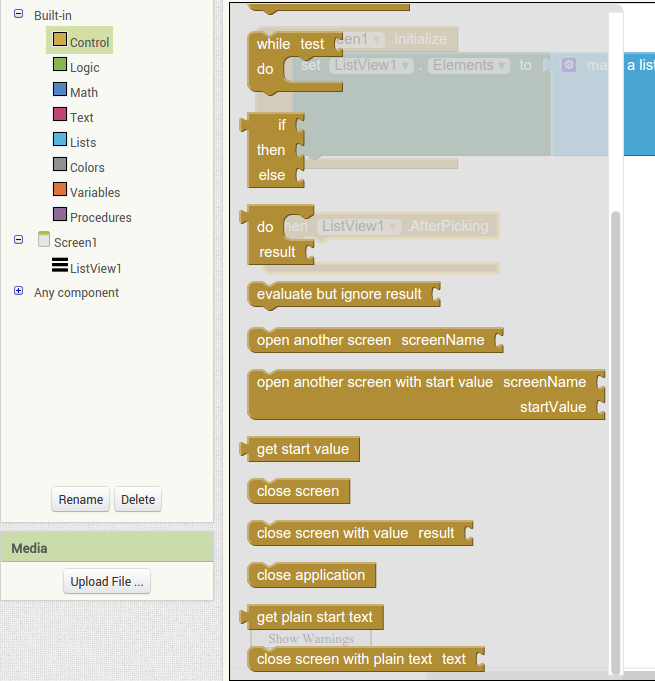
Now the nuts and bolts (and the cool part). We have to populate our listview with the speaker names when the app is opened, as well as specify some behaviour when the user clicks on the element in the listview. For this work we will need to use the code blocks on the left hand side of the “blocks” screen.
7. Initialise by populating the list-view with strings once the screen is loaded
Clicking on the “Screen1” icon will bring up all the blocks associated with this choice. We want to drag the “when screen initializes” block to the work area. This “block” of code will execute when the app opens. Notice the gap in the middle, this is where we place the “do” part. In this case what we want to “do” is populate the listview with text for the speaker names.

To do this we click on the listview block and select the “listview elements” block, notice how this block will fit nicely inside the previous block. Notice also that the open jigsaw like parts at the end of this new block, this is where we add our new list that will hold the speaker string elements. I hope you notice this “feels” like coding nix with objects all the typing.

Clicking on the list block allows us to make a new list, we click this into our listview and now we populate the list with items that will be displayed.
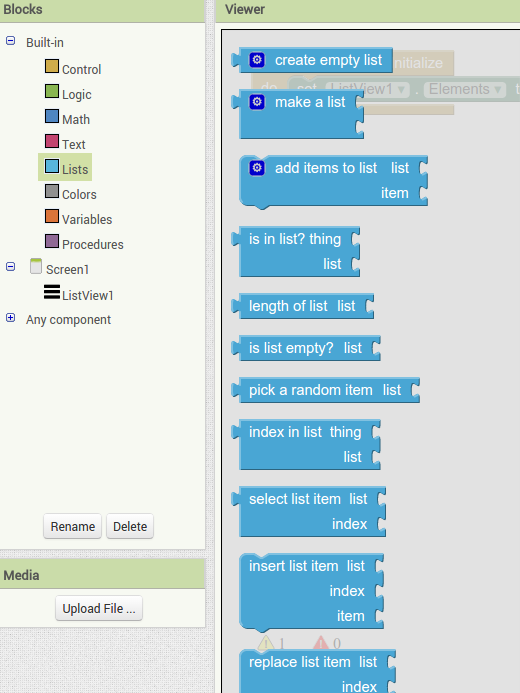
So it should look like this (below). The little blue gear lets us increase the number of spots for elements to populate our list. For this app we will have four speakers for this section, so just drag the item block into the right “list block” twice to create two more spaces.

To actually populate the list we need some text. So we grab the empty text fields and drag them to the open slots on the list.

By typing between the quotes we can add our custom text. By right clicking on this first text element we can duplicate it for the remaining 3 spaces (or we could just drag 3 more empty elements across).

We modify each element to be a speaker name. Ok, now when the app opens the listview will be populated by string elements found in the list. Next we need to specify some behaviour when the user clicks on the speakers name.

At this stage our basic app should be “working”, as in the listview should display, although nothing will happen when we click on each item. Now this is where the simple testing functions of AI2 come to the fore. Just click on the build and then “provide QR code for apk”.


Once the QR code pops up just open up the App inventor 2 companion app and scan the code, its bloody brilliant!

Now we create an action once an element (speaker) in the list is selected by the user. As this is a listview action we click back on the listview icon and grab the “afterPicking” block; thats logical don’t you think?
One thing you might notice about these blocks, if you have coded before, is that they are very much like a normal object that we would specify using code syntax, its just its GUI based.
 Our after picking behaviour will be opening a new screen that contains a photo of the speaker and a brief bio. So we need to setup a new screen to contain this new information. I’m being really lazy here and I’m just going to hard wire the page so that only one of the listview items actually works as expected (mine of course). However, in real life you would setup some logic that would ask for the index item that was clicked, and use this to send the user to the correct screen.
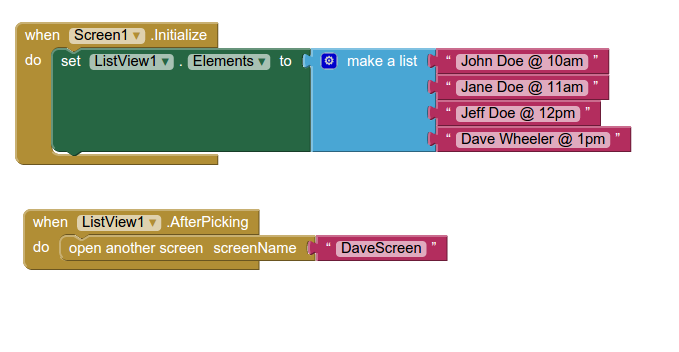 So we have setup the method to open the new screen (above), now we need the screen. We’ll create the “DaveScreen” (as specified by another purple text element block ) that will contain my mock bio and a great photo. To do this just click the “add screen” button at the top of the screen and re-name it.
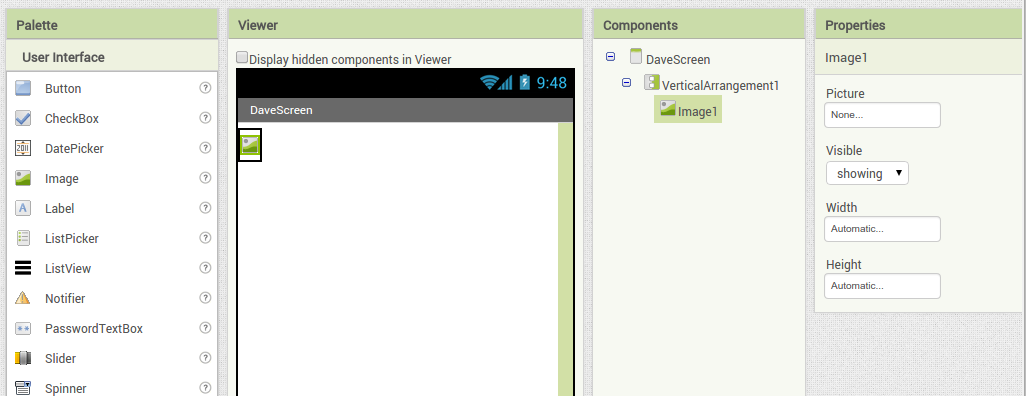
 Back in the designer we can populate this new screen with a photo and some text, using a vertical alignment is simple just drag it onto the window and specify its attributes in the right hand panel.
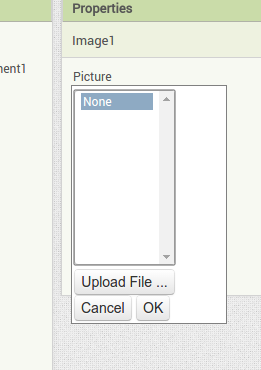
 Now Drag an image icon onto the panel and then by clicking on “image1” in the components plane we can upload an image and resize it using the properties. You really can’t get much easier than that really, can you!
 Wow, what a good looking bloke, finally, we create a label and populate it with text in the blocks screen. We could do this in the properties section of the designer page, but since I’m feeling guilty for hard coding the list view, I thought I would use the blocks to set the text.

Thats it. The app should provide a list of speakers, and when you click on my name (any name actually due to the hard wireing) the new page should open with my bio and a photo.
You can download the files associated with the app from here. These include the APK’s that can be installed on any android phone as well as the *aia files that can be imported into AI2 if you want to play with the code. I’ve included a slightly improved (although still broken) version that replaces the hard-wired listview actions with a call to specific speaker pages (that don’t exist but could be easily made based on the above information).
